Secure Your Crypto: Quick Trezor Setup
A practical, step-by-step overview to get your Trezor hardware wallet up and protecting your digital assets.
Hardware wallets like Trezor provide a reliable offline layer of protection for cryptocurrencies and private keys. This guide walks you through the essential steps — from unboxing to daily best practices — and points you to the official setup portal at Trezor.io/Start. Follow these recommendations to minimize risk while maintaining a convenient, repeatable workflow.
Why choose a Trezor hardware wallet?
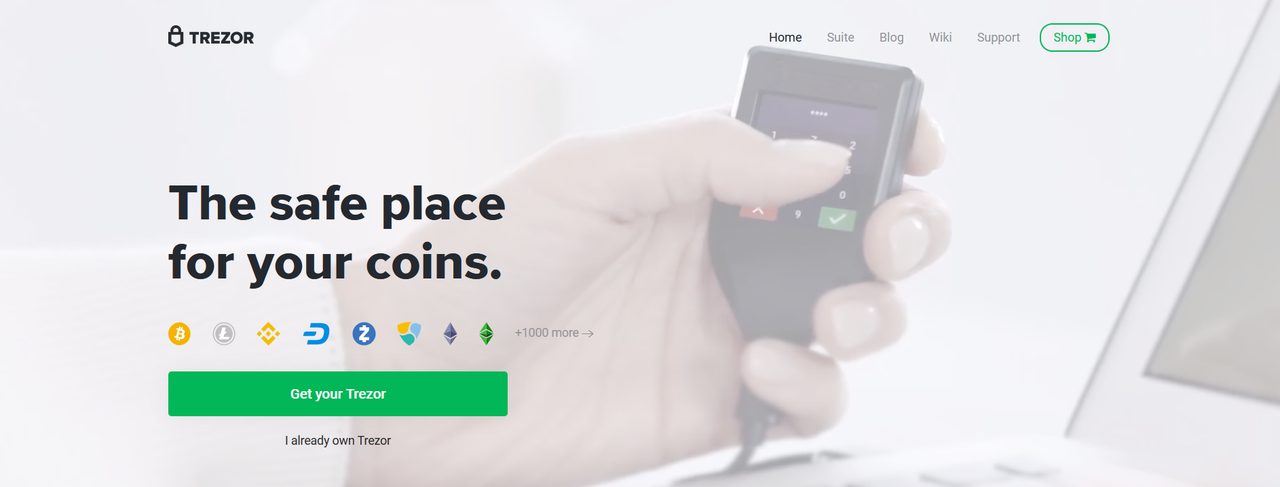
Trezor stores private keys in a dedicated device isolated from your computer and the internet, drastically reducing exposure to malware and phishing. It’s an ideal tool for investors who want a long-term, verifiable way to sign transactions while keeping their recovery seed offline and secure.
Quick checklist before you begin
- Purchase only from authorized sellers or the official Trezor store.
- Inspect packaging for tamper-evidence and original seals.
- Have a secure, private place to write your recovery seed on the included recovery card.
- Use an up-to-date computer; avoid public or shared systems for setup.
Step-by-step setup (overview)
1. Visit the official setup page at Trezor.io/Start. This ensures you download authentic firmware and software.
2. Connect your Trezor to your computer or mobile device using the supplied cable. Follow the on-screen prompts to install Trezor Suite or the recommended setup utility.
3. Initialize the device: choose a strong PIN and write the recovery seed exactly as shown. Never store the seed on a connected device or cloud storage.
4. Confirm firmware authenticity and update if prompted. Firmware updates often include security improvements; apply them from official sources only.
5. Transfer a small test amount first. Verify transactions on the device screen before confirming, and practice the restore process on a spare device if possible.
Best practices for long-term safety
Keep multiple, geographically separated backups of your recovery seed written by hand. Consider steel seed storage for fire and flood protection. Regularly verify your device’s firmware and always access the start/setup URLs by typing the official domain or using bookmarks — avoid links from email or social media.
Common mistakes to avoid
- Never share your recovery seed with anyone — Trezor support will never ask for it.
- Don’t store the seed digitally (photos, notes apps, cloud storage).
- Avoid buying second-hand devices unless you perform a full factory reset and reinstall firmware from Trezor.io/Start.
Final tips
Make setup a deliberate, unhurried process. Keep your PIN and seed separate. Use the device’s display to confirm transaction details and treat the recovery seed as the single source of truth for account recovery. If you manage large holdings, consider additional protections like passphrases or multisig arrangements.